If every booking in your shop still happens by phone call, text, or Instagram DM, the idea of “going online” can feel bigger than it is. You picture a complicated system, clients confused about how to book, or worse — appointments falling through the cracks while you’re mid-service with someone else.
It doesn’t have to be a big-bang switch. You can move into online booking gradually, over about a week, while still taking calls and messages exactly as you do now. Here’s the order that works.
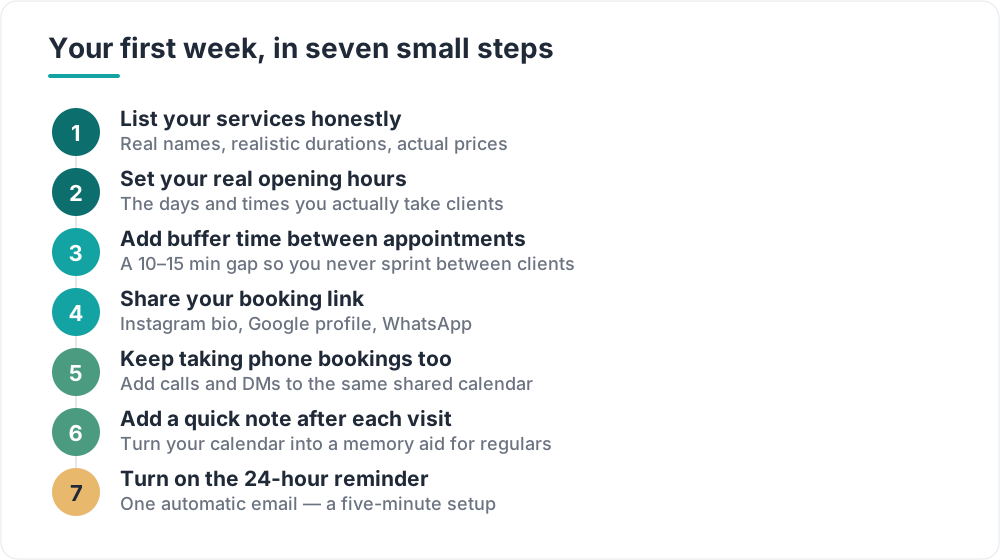 The whole first week at a glance — seven small steps, none needing a free afternoon.
Step 1: List your services honestly
Start with what you actually offer, not an idealized version of it. For each service, write down:
- The real name a client would recognize (not internal shorthand)
- A realistic duration — including the few minutes of setup and cleanup you don’t usually count
- Your actual price
This step matters more than any other. If a 60-minute massage really takes 75 minutes once you include getting the client settled and the room reset, put 75 minutes. Underestimating durations is the single most common cause of a schedule that looks fine on screen but falls apart in real life.
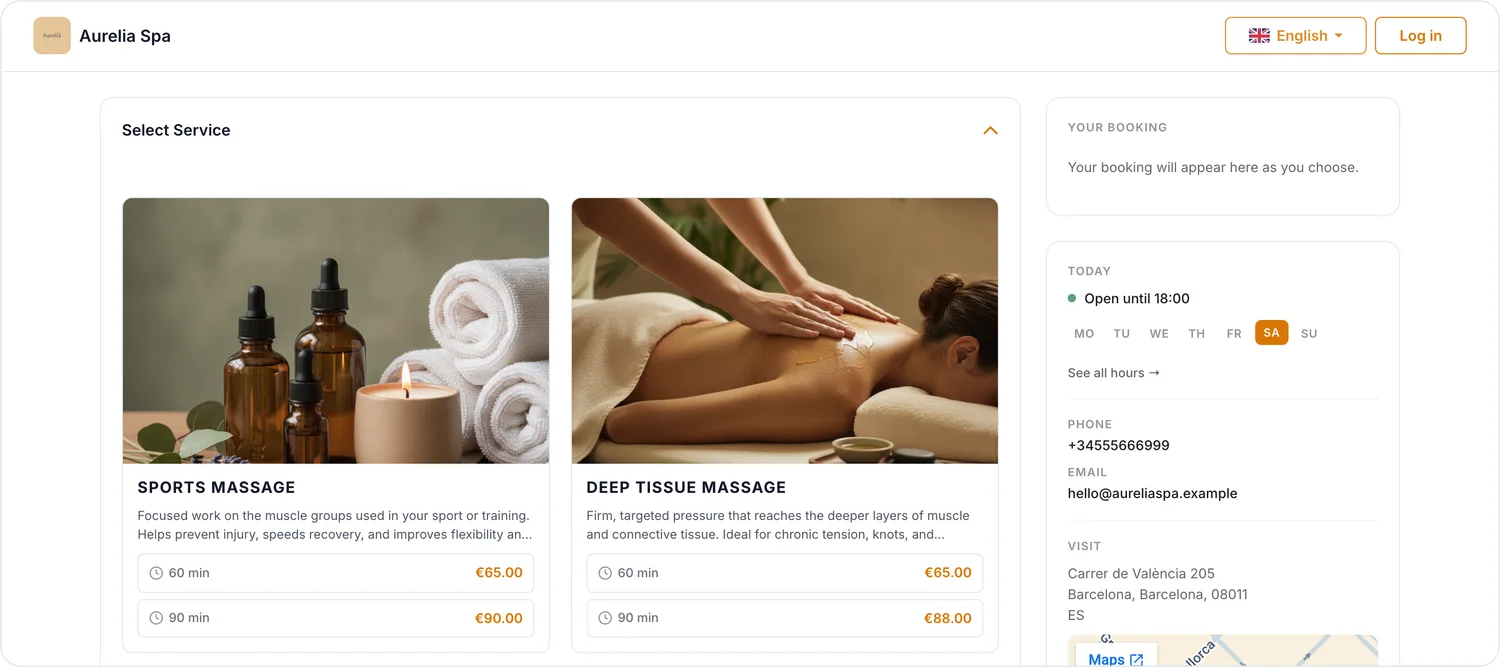 Once your services are in, they become clean, bookable cards — name, real duration, and price — with your hours and contact details alongside.
Step 2: Set your real opening hours
Enter the hours you’re genuinely available to take clients — not your aspirational hours. If you only work Tuesday to Saturday, or you stop taking new appointments an hour before you actually close so you have time to wrap up, reflect that. Clients booking online will only see slots inside these hours, so this is what keeps your calendar honest from day one.
Step 3: Add buffer time between appointments
This is the step most owners skip and then regret. Buffer time is a short gap you set between bookings — say, 10 or 15 minutes — so you’re not sprinting straight from one client into the next. It gets built into your availability automatically, so clients simply can’t book back-to-back slots that leave you no room to breathe, clean the room, or run five minutes over.
If you’ve ever finished a service and had the next client already waiting because there was zero gap between them, this is the fix.
Step 4: Share your booking link
With services, hours, and buffers set, your booking page is ready to use. Now put the link where clients already look for you:
- Your Instagram bio
- Your Google Business Profile website field
- Pinned in your WhatsApp or Facebook page info
You don’t need a big announcement. Just make the link findable, and let it start catching the bookings that used to arrive as “hey, are you free Thursday?” messages.
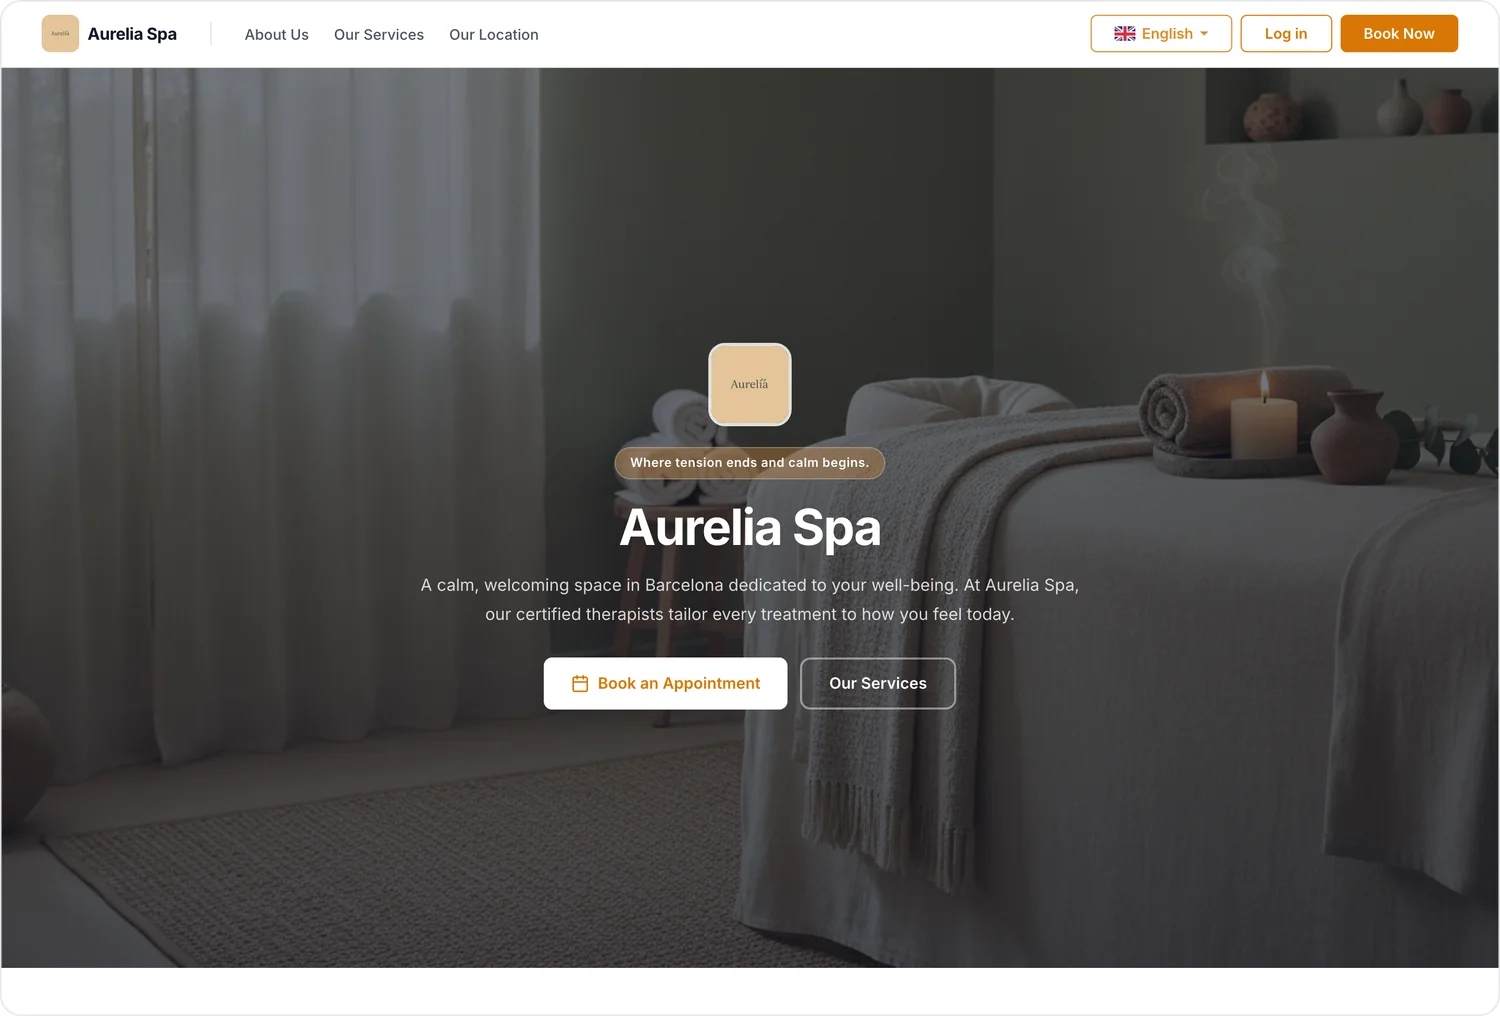 A real WellDesk booking page. Every shop gets its own page at your-name.welldesk.ai — your brand, your photo, and a clear way to book.
And it keeps working as clients scroll — an About section that tells your story and builds trust, then your full service menu, each treatment ready to book without a single phone call.
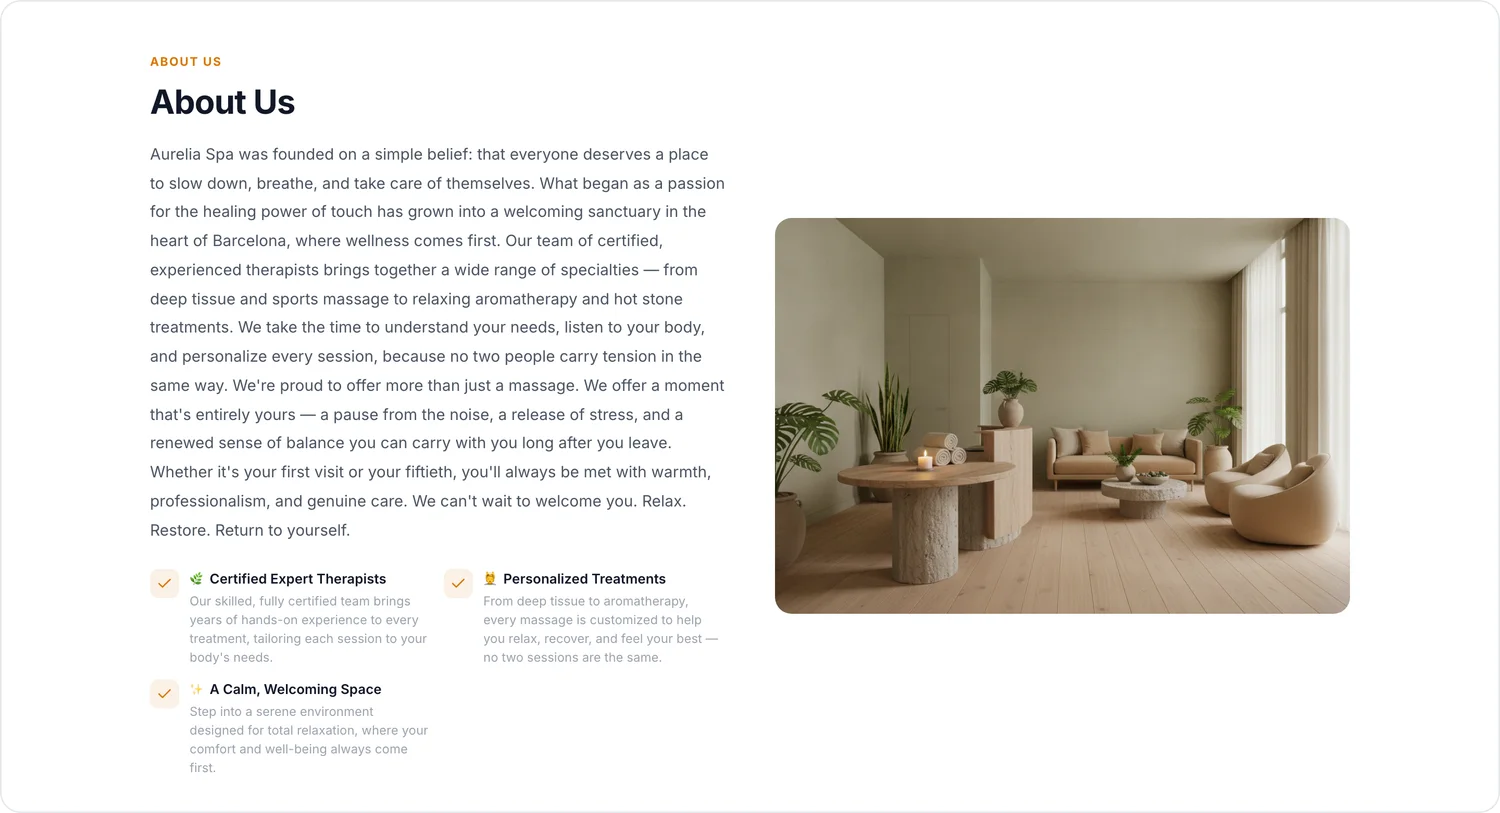 An About section does the trust-building a walk-in never gets a chance to.
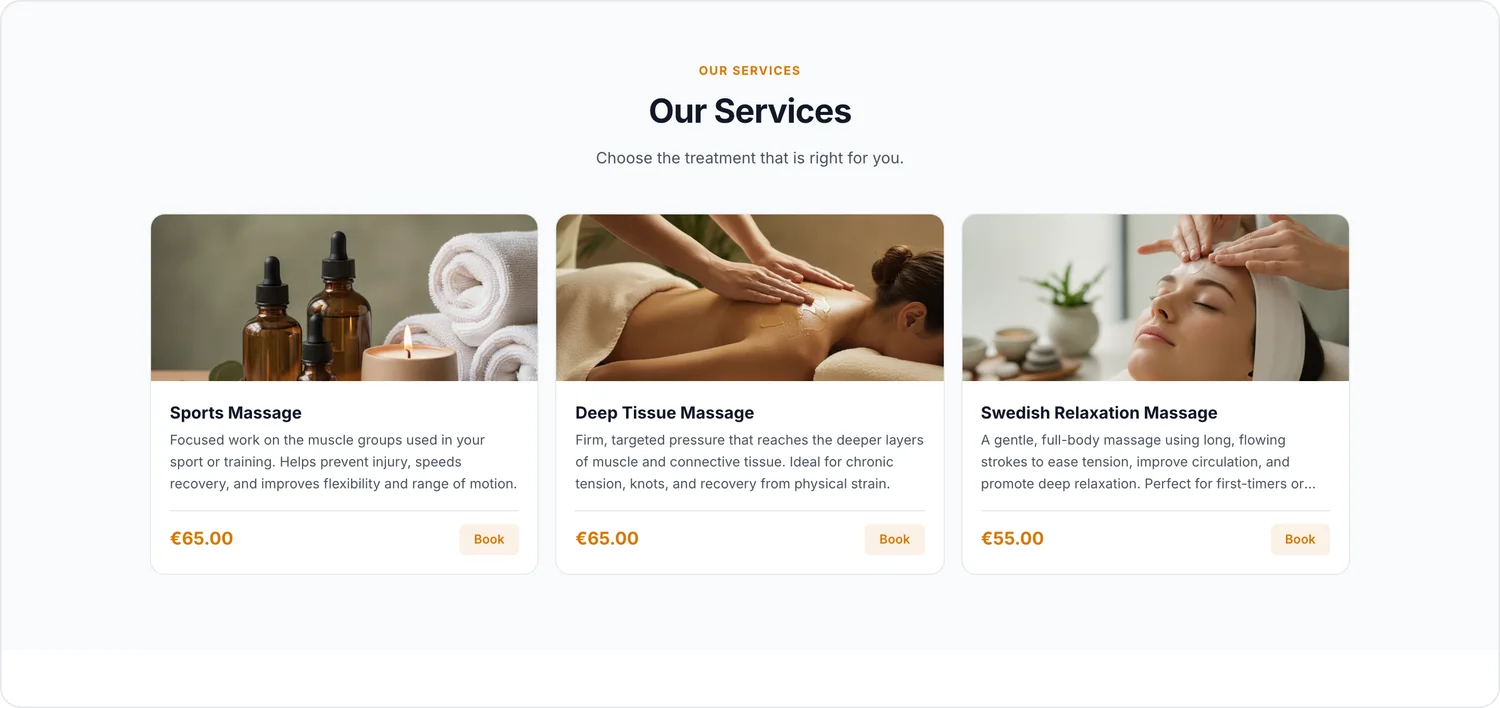 Your full menu, laid out clearly — each service a tap away from booked.
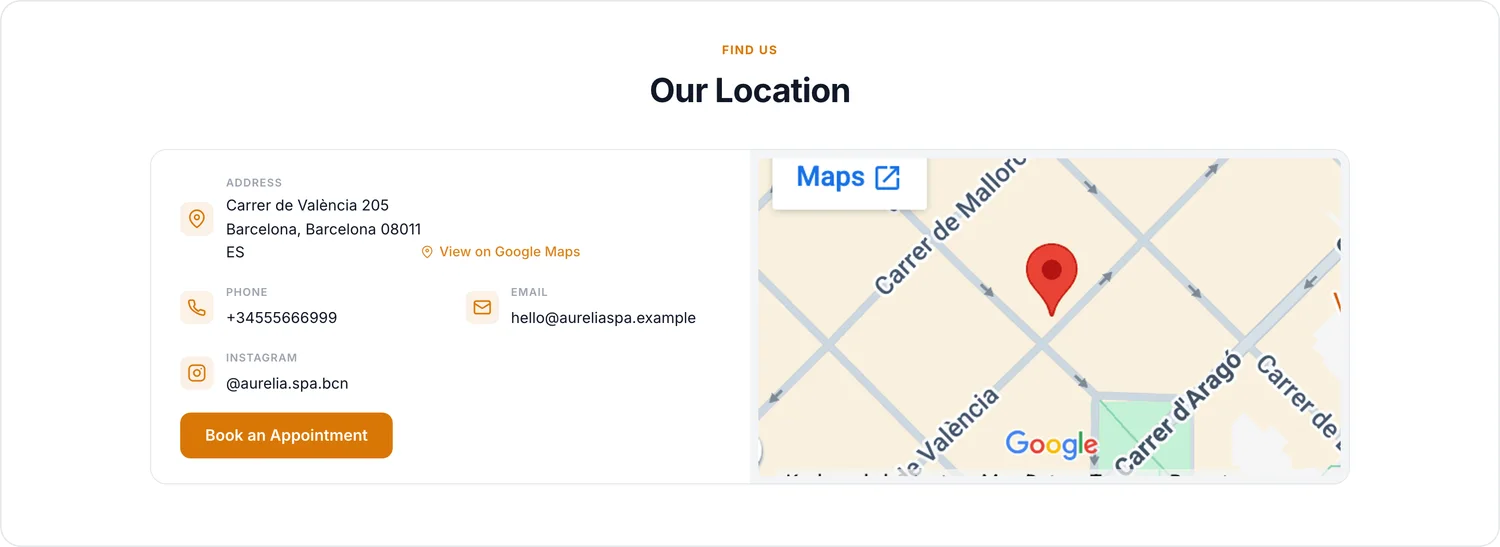 Your address, map, and contact details in one place — so a first-time client can find you and book in the same visit.
Step 5: Keep taking phone bookings too
This is the part that makes the whole switch low-risk: you don’t have to redirect everyone to the booking page immediately. Keep answering calls and DMs as usual — just add those appointments to the same shared calendar your online page reads from. That way a regular who always calls you never has to change their habit, and you never risk double-booking a slot that got taken online while you were on the phone.
Over time, more bookings will drift toward the link on their own, simply because it’s faster. There’s no need to force it.
Step 6: Add a quick note after each visit
After a visit, take thirty seconds to jot a short note on that client’s record — a product they liked, a pressure preference, an area to avoid, anything that will save you asking again next time. Client records with per-visit notes turn your calendar into a memory aid, not just a schedule. Small shops live and die on this kind of personal detail, and it’s easy to lose track of once you’re busy.
Step 7: Turn on the 24-hour reminder
That reminder is the one piece of marketing automation worth setting up first at a small shop, and close to the only piece worth setting up at all early on.
Last step: turn on the automatic email reminder that goes out roughly 24 hours before each appointment. It’s optional, and it’s one reminder — not a marketing sequence — but it’s a five-minute setup that can be the difference between a client remembering and an empty slot you can’t fill on short notice.
It’s a week, not a leap
Spread across seven small steps, none of this needs a free afternoon you don’t have. Do one or two steps a day, keep your phone and DMs open the whole time, and by the end of the week you’ll have a booking page live alongside — not instead of — how you already work.
Where WellDesk fits
WellDesk gives you the pieces above in one place: a public booking page at your own <shop>.welldesk.ai address, a shared calendar, buffer times, client records with visit notes, and the optional 24-hour email reminder. It’s free for the first 100 shops, so there’s no cost pressure to get everything perfect on day one — set it up at your own pace.
Create your account and start with step one: listing your services.