If you’ve been invited to join a business on WellDesk, this article is for you. Your employer (the account Owner or Admin) has sent you an invitation email — this guide walks you through accepting it and getting set up.
Step 1: Find your invitation email
Check your inbox for an email with the subject line “You’ve been invited to join [Business Name] on WellDesk”. The sender will be no-reply@welldesk.ai.
If you don’t see it:
- Check your Spam or Junk folder.
- Ask your manager to resend the invitation from Staff → [Your Name] → Resend Invitation.
Note: Invitation links expire after 72 hours. If the link has expired, contact your manager to resend it.
Step 2: Click the invitation link
Open the email and click Accept Invitation (or the link if the button doesn’t display). You’ll be taken to the WellDesk website.
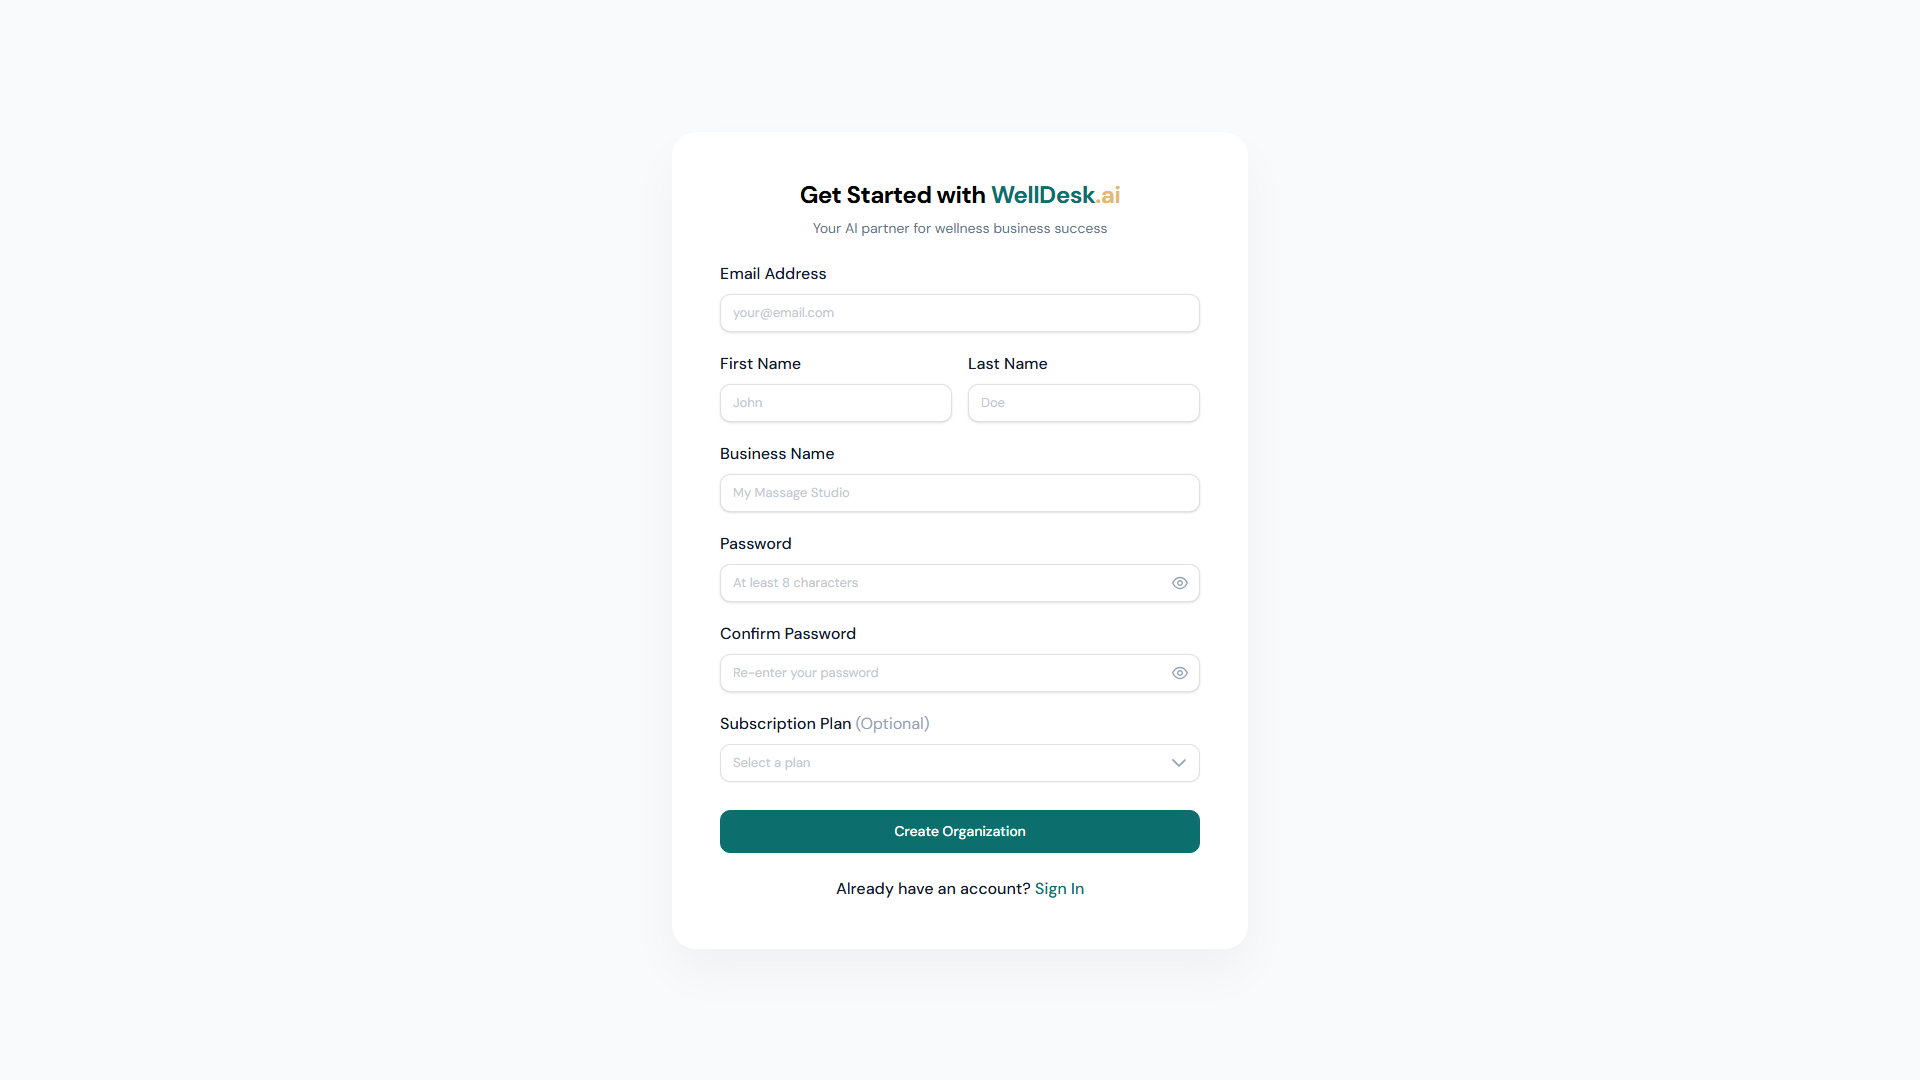
Step 3: Set your password
On the account setup page:
- Your name and email address are pre-filled from when your manager set up your invitation.
- Create a Password — minimum 8 characters. Choose something secure that you’ll remember.
- Confirm your password by typing it again.
- Click Create Account.
Step 4: Log in for the first time
After setting your password, you’re logged in automatically and taken to the WellDesk dashboard.
Your view of WellDesk depends on your role (set by your manager):
- Staff role: You see your own calendar, upcoming appointments, and client records for your bookings. You cannot see other staff members’ schedules or financial reports.
- Admin role: You have access to the full management dashboard, including all bookings, staff schedules, client records, and reports.
See Roles and Permissions for a complete breakdown.
Logging in after initial setup
For future logins:
- Go to welldesk.ai.
- Click Log In.
- Enter your email and the password you created.
- Click Log In.
If you forget your password, click Forgot your password? on the login page and follow the reset steps. See Login and Registration.
Updating your profile
After your first login, update your profile with a photo and bio. These appear on the public booking page when clients choose a therapist:
- Click your name or avatar in the top right corner.
- Select My Profile.
- Upload a profile photo and write a short bio.
- Click Save Changes.
Tips for new team members
- Explore the Calendar first — your upcoming appointments are front and centre. Click a booking to see client details and service notes.
- Read client notes before each appointment — your manager and colleagues may have left important notes about preferences, allergies, or special requirements.
- Update booking status after appointments — mark bookings as Completed once the service is finished. This keeps your schedule accurate and ensures commission is recorded correctly.
FAQ
I clicked the link but got an “invitation expired” message. What do I do? Contact your manager and ask them to resend the invitation from the Staff section of their WellDesk account.
Can I change my email address after setting up my account? Yes. Go to My Profile → Account Settings and update your email address. You’ll receive a verification email at the new address.
What if my manager entered my email incorrectly? Ask them to remove the incorrect invitation and send a new one to the correct address from Staff → Invite Staff Member.