The WellDesk Calendar gives you a real-time view of your business schedule. It displays bookings, calendar events, and staff availability in a familiar calendar interface. You can switch between Month, Week, and Day views depending on how much detail you need.
Navigating the calendar
Month view
The Month view shows all bookings for the current month at a glance. Each day shows how many appointments are scheduled, colour-coded by status.
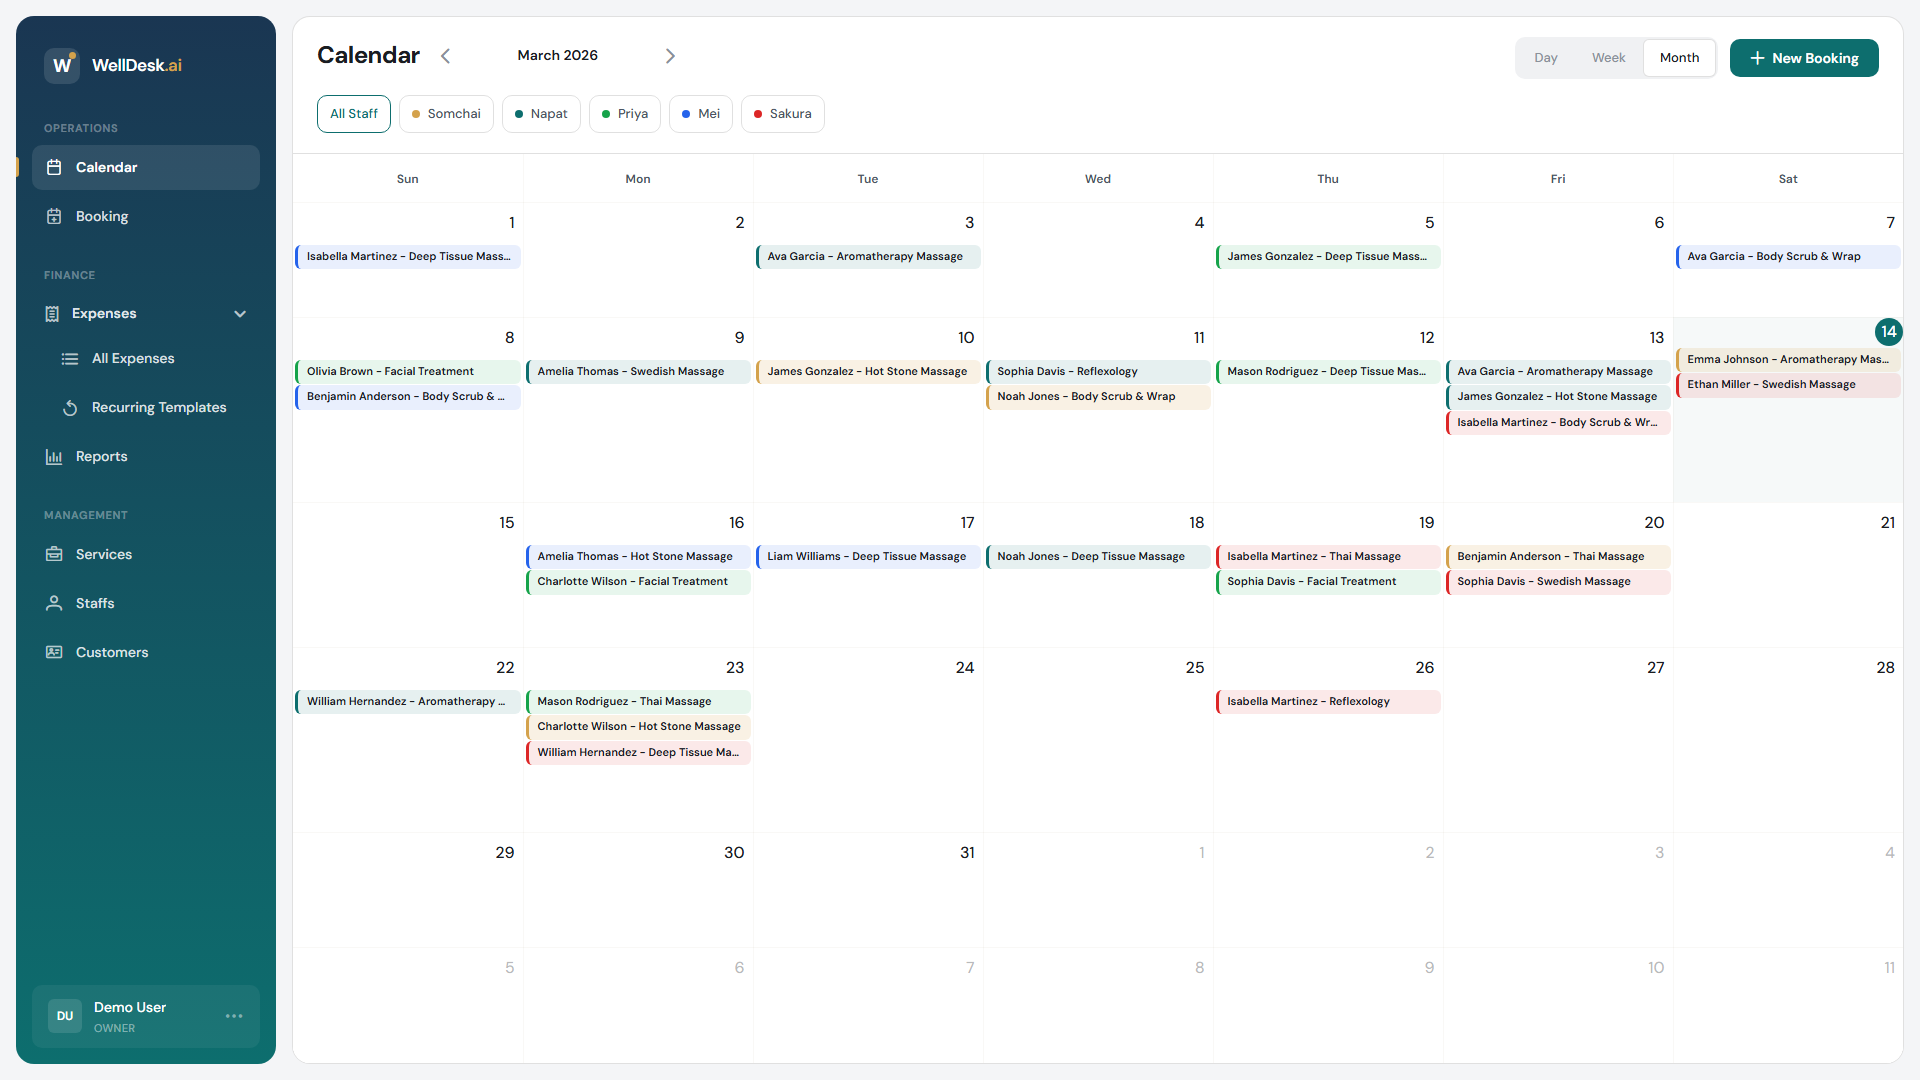
- Click any day to jump to the Day view for that date.
- Hover over a booking chip to see a quick summary (client name, service, time).
Week view
The Week view displays all seven days of the selected week with hourly time slots. This is the most popular view for day-to-day scheduling.
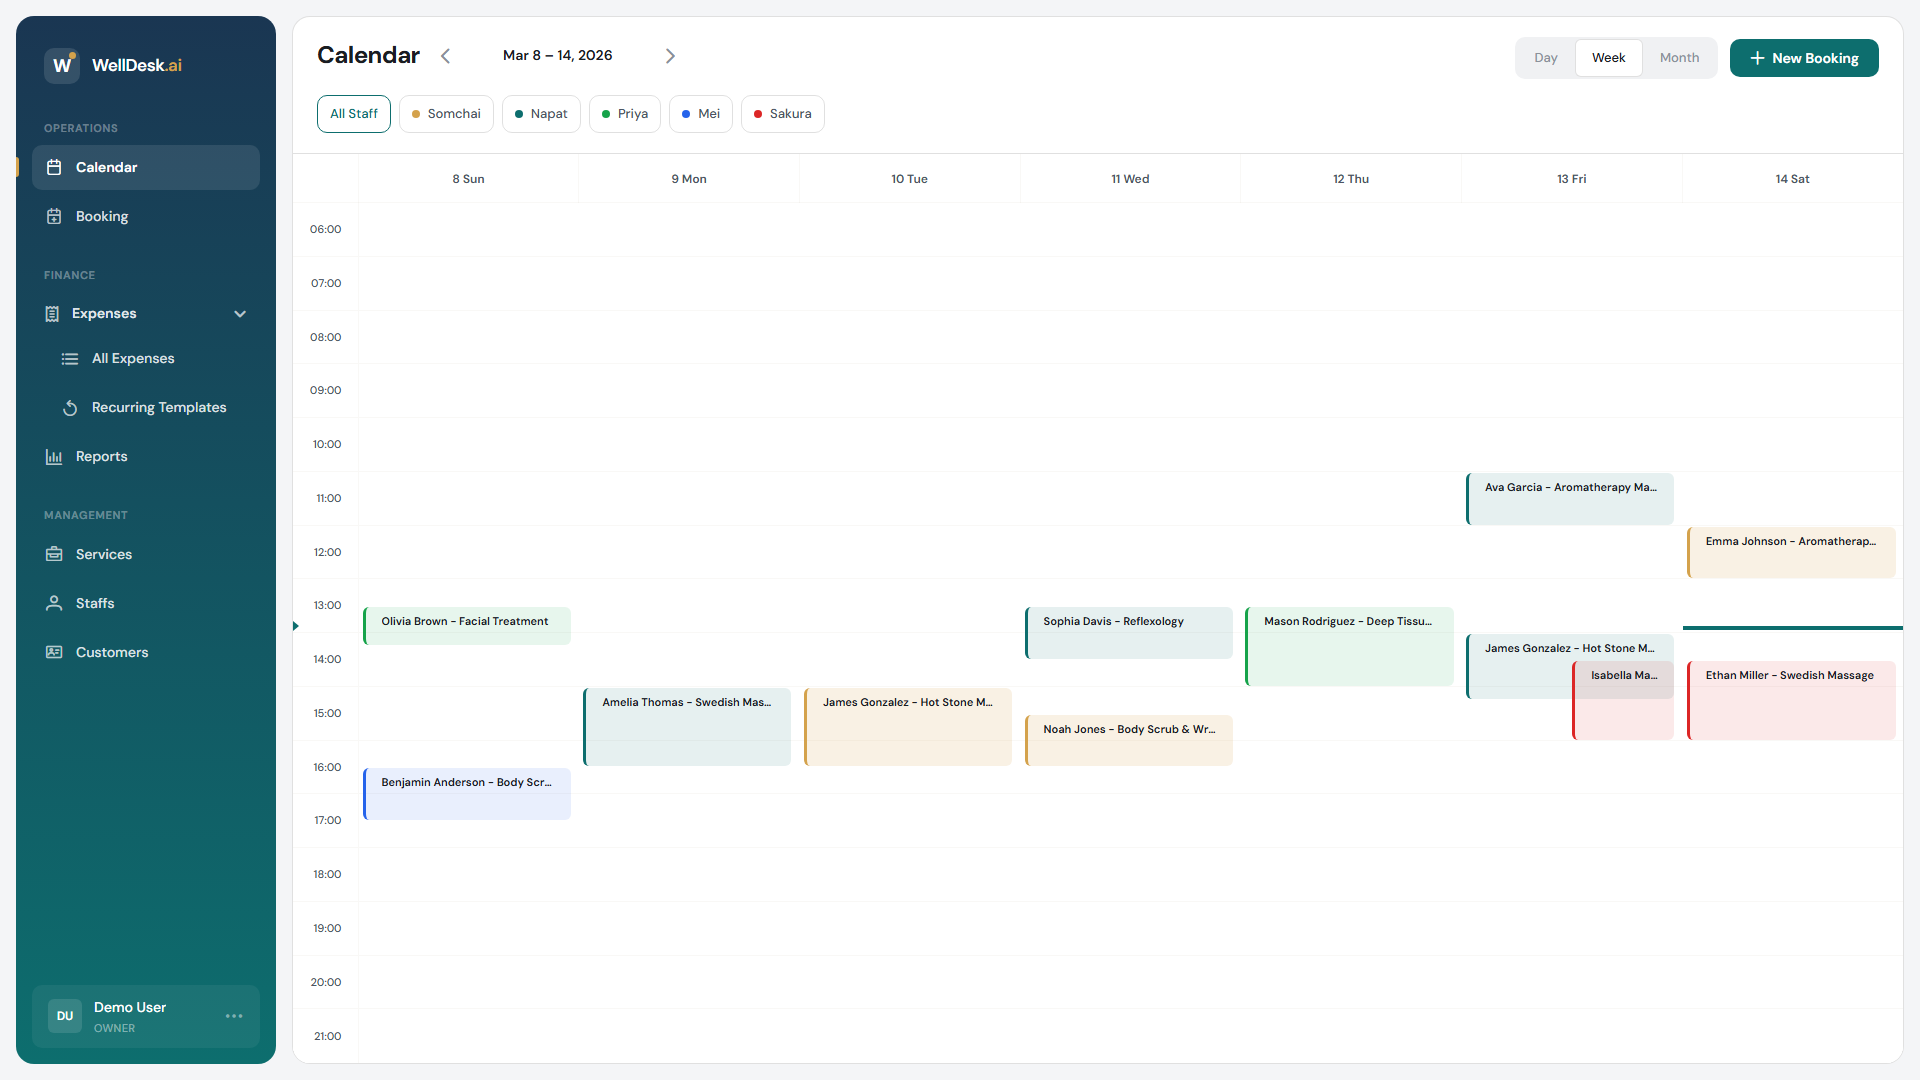
- Click any empty slot to create a new booking at that time.
- Drag and drop bookings to reschedule them (Owner and Admin only).
- Each booking block shows the client name, service, and duration.
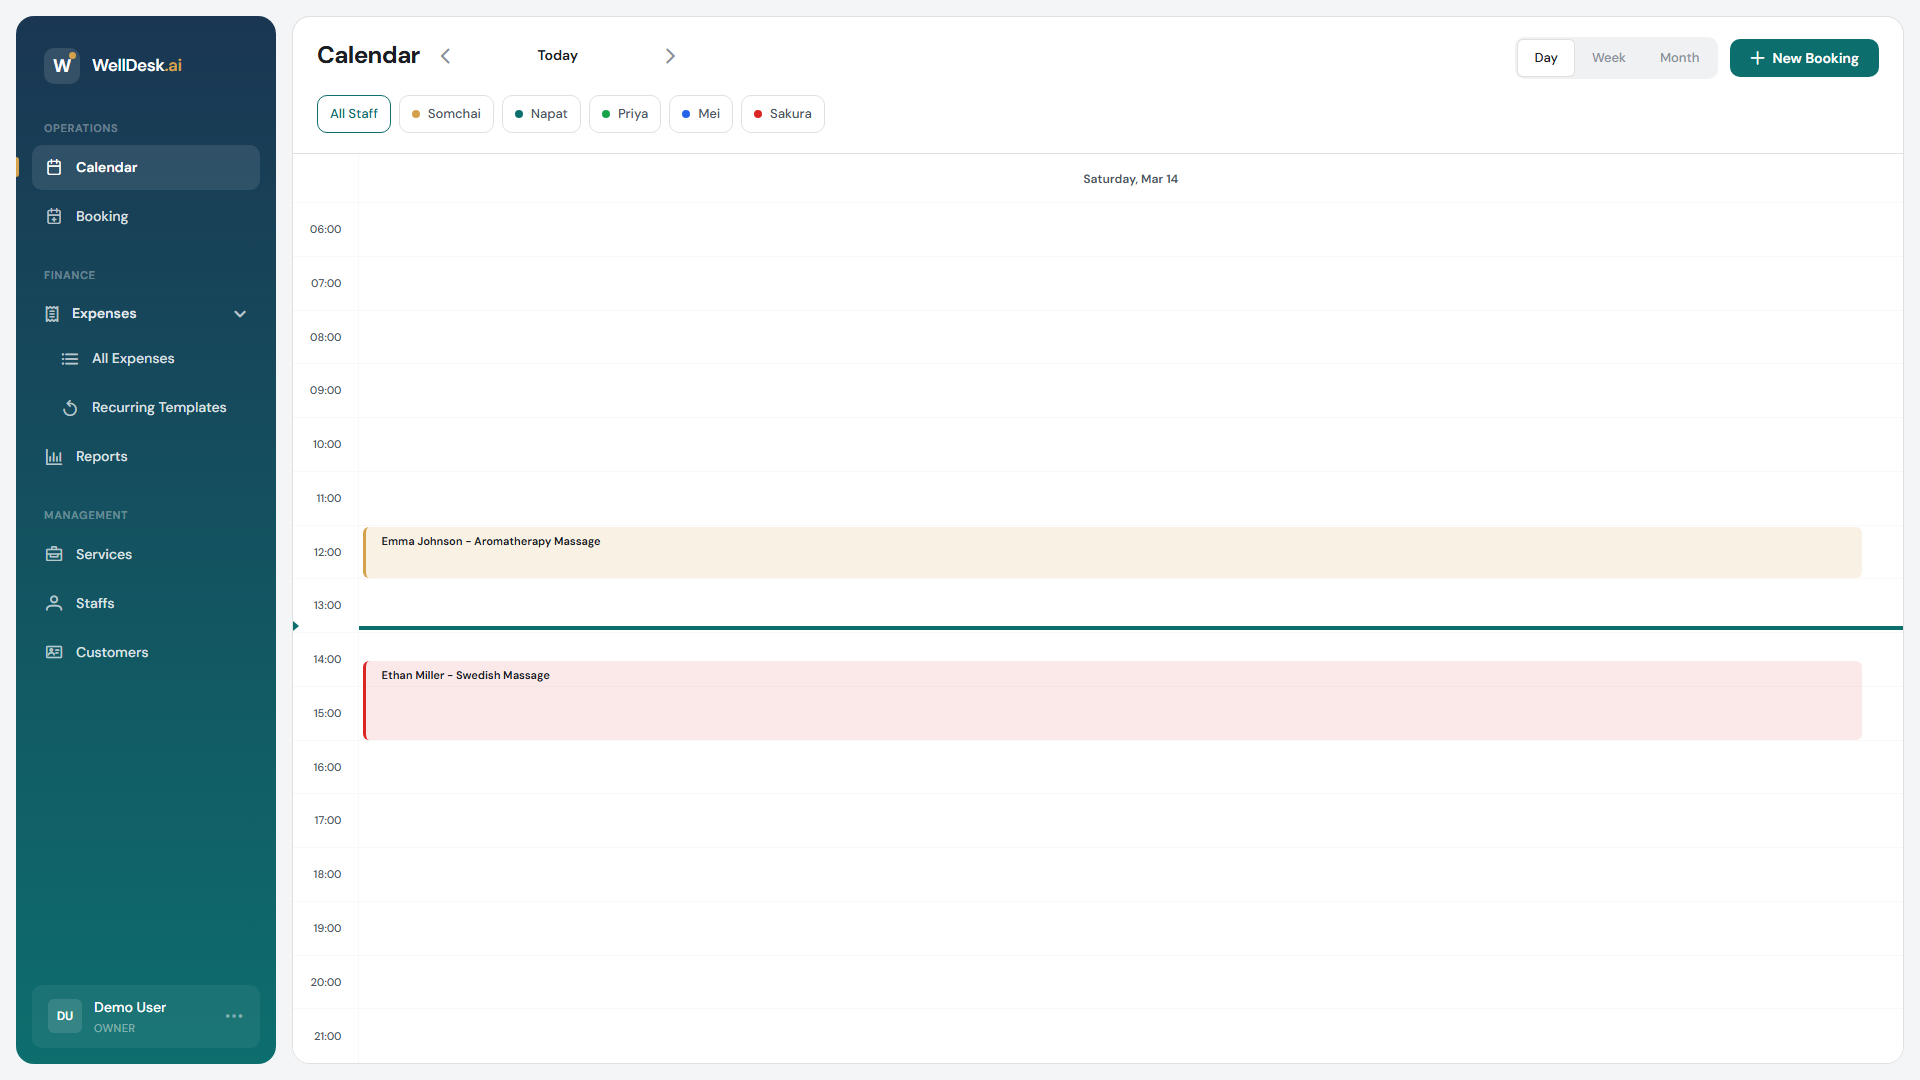
Day view
The Day view shows a single day’s appointments in a detailed hour-by-hour grid — ideal for busy days with many back-to-back appointments.
Switching views
Use the Month / Week / Day toggle buttons in the top right corner of the Calendar. The calendar always opens to the current date. Use the left and right arrow buttons to navigate forward and backward.
Filtering the calendar
Use the Filter toolbar above the calendar to narrow what you see:
- Staff filter — select one or more staff members to show only their bookings. Useful when managing a team with multiple therapists.
- Service filter — show bookings for a specific service type.
- Status filter — show only Pending, Confirmed, or Completed bookings.
Tip: Staff members who log in see only their own bookings by default. Owners and Admins see all staff.
Creating a booking from the calendar
- Navigate to any empty time slot in Week or Day view.
- Click the slot — the booking creation dialog opens pre-filled with the date and time.
- Select the client, service, and staff member.
- Click Confirm Booking.
Tips and best practices
- Start your day in Day view to get a clear picture of the schedule without distractions.
- Use Week view for planning — it lets you spot gaps and suggest alternative times to clients calling to reschedule.
- The calendar syncs in real time — if a client books online while you’re viewing the calendar, their appointment appears immediately without a page refresh.