The Staff section is your central place for managing your team — editing profiles, setting working hours, assigning services, and controlling access. This article covers everything you need to keep your team information up to date.
Viewing and editing a staff profile
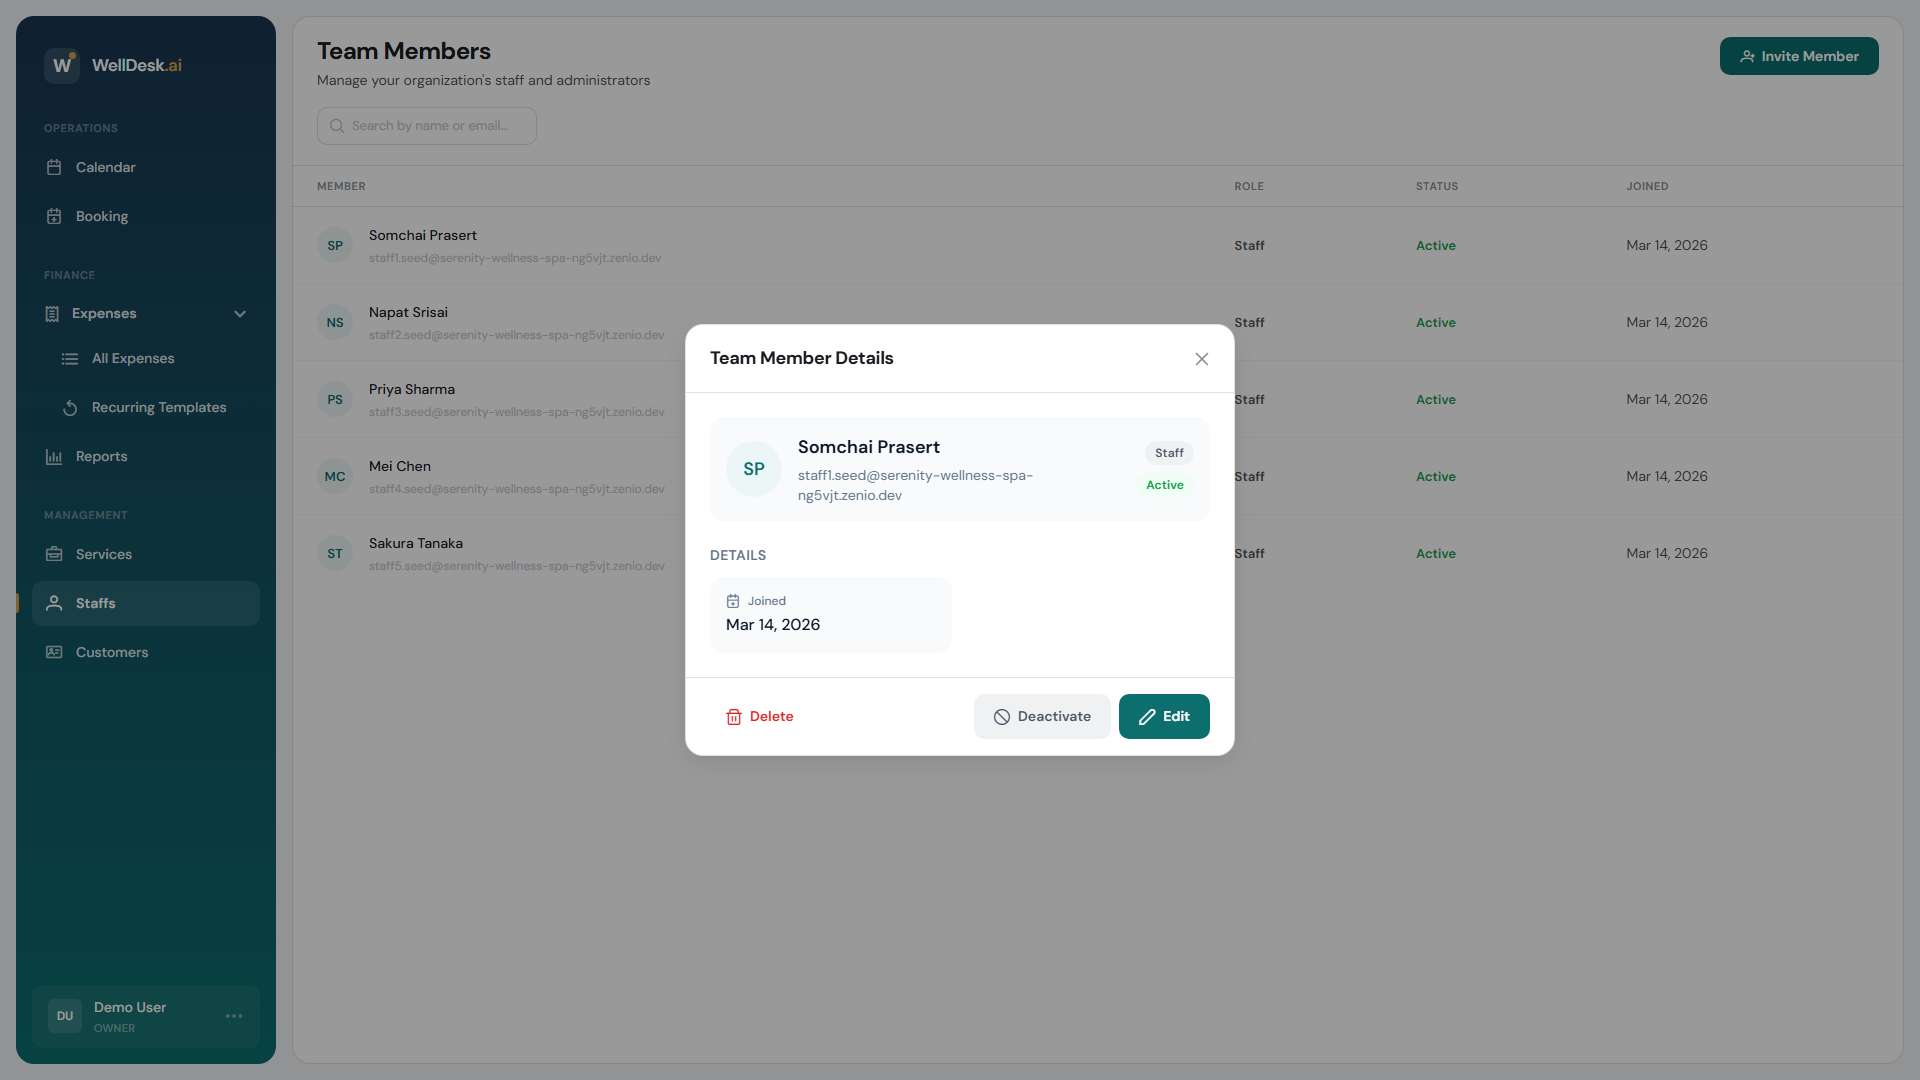
- Go to Staff in the main navigation.
- Click any staff member’s name or row to open their profile.
- Edit any of the following fields:
| Field | Description |
|---|---|
| Name | Display name shown on bookings and the public booking page |
| Photo | Profile picture (shown to clients when selecting a therapist) |
| Login email (changing this requires re-verification) | |
| Role | Admin or Staff (Owner can change; see Roles and Permissions) |
| Phone | Internal contact number (not shown to clients) |
| Bio | Short profile shown on the public booking page |
| Services | Which services this staff member can perform |
| Commission Rate | Percentage or fixed amount used in commission reports |
- Click Save Changes after editing.
Setting working hours
Each staff member has their own working schedule that determines when clients can book them.
- Open the staff member’s profile.
- Click the Working Hours tab.
- Toggle each working day on or off.
- Set start and end times for each active day.
- Add breaks with the + Add Break button.
- Click Save Working Hours.
Note: Working hours override business hours for that individual. If your shop is open Saturday but a specific therapist doesn’t work Saturdays, toggle Saturday off for them and clients won’t see them as an option.
Assigning services
Staff members must be assigned to services before they can be selected when creating bookings.
- Open the staff member’s profile.
- Click the Services tab.
- Tick each service they can perform.
- Click Save Changes.
Services can also be assigned from the service side — see Adding a Service.
Deactivating a staff member
When a staff member takes extended leave or leaves the business, deactivate rather than delete their account. Deactivated staff:
- Cannot log in to WellDesk
- Do not appear as booking options for new appointments
- Have their historical bookings preserved for reporting
To deactivate:
- Open the staff member’s profile.
- Click the Actions menu (three dots in the top right).
- Select Deactivate Staff Member.
- Confirm the action.
To reactivate, follow the same steps and select Reactivate Staff Member.
Removing a staff member
Permanently removing a staff member should only be done if their account was created in error, as it affects historical booking records.
- Open the staff member’s profile.
- Click Actions → Remove Staff Member.
- Type the staff member’s name to confirm.
- Click Remove.
Warning: This action cannot be undone. All bookings previously associated with this staff member are preserved but will show “Staff Removed” in place of their name.
Tips and best practices
- Complete every profile with a photo and bio — clients see this information when choosing who to book with online.
- Deactivate, don’t delete — preserving staff history keeps your reports accurate.
- Update service assignments promptly — if a therapist completes a new training, add the service to their profile immediately so they can be booked for it.