Your shop configuration determines how WellDesk looks to both you and your clients. This guide covers the complete initial setup — from your business name and logo to your operating hours and public booking page.
Prerequisites
- A verified WellDesk account
- Your business logo in PNG or SVG format (recommended: 400×400 px)
- Your business address, phone number, and website (if applicable)
Step 1: Open shop settings
From the main navigation, go to Settings → Shop Information.
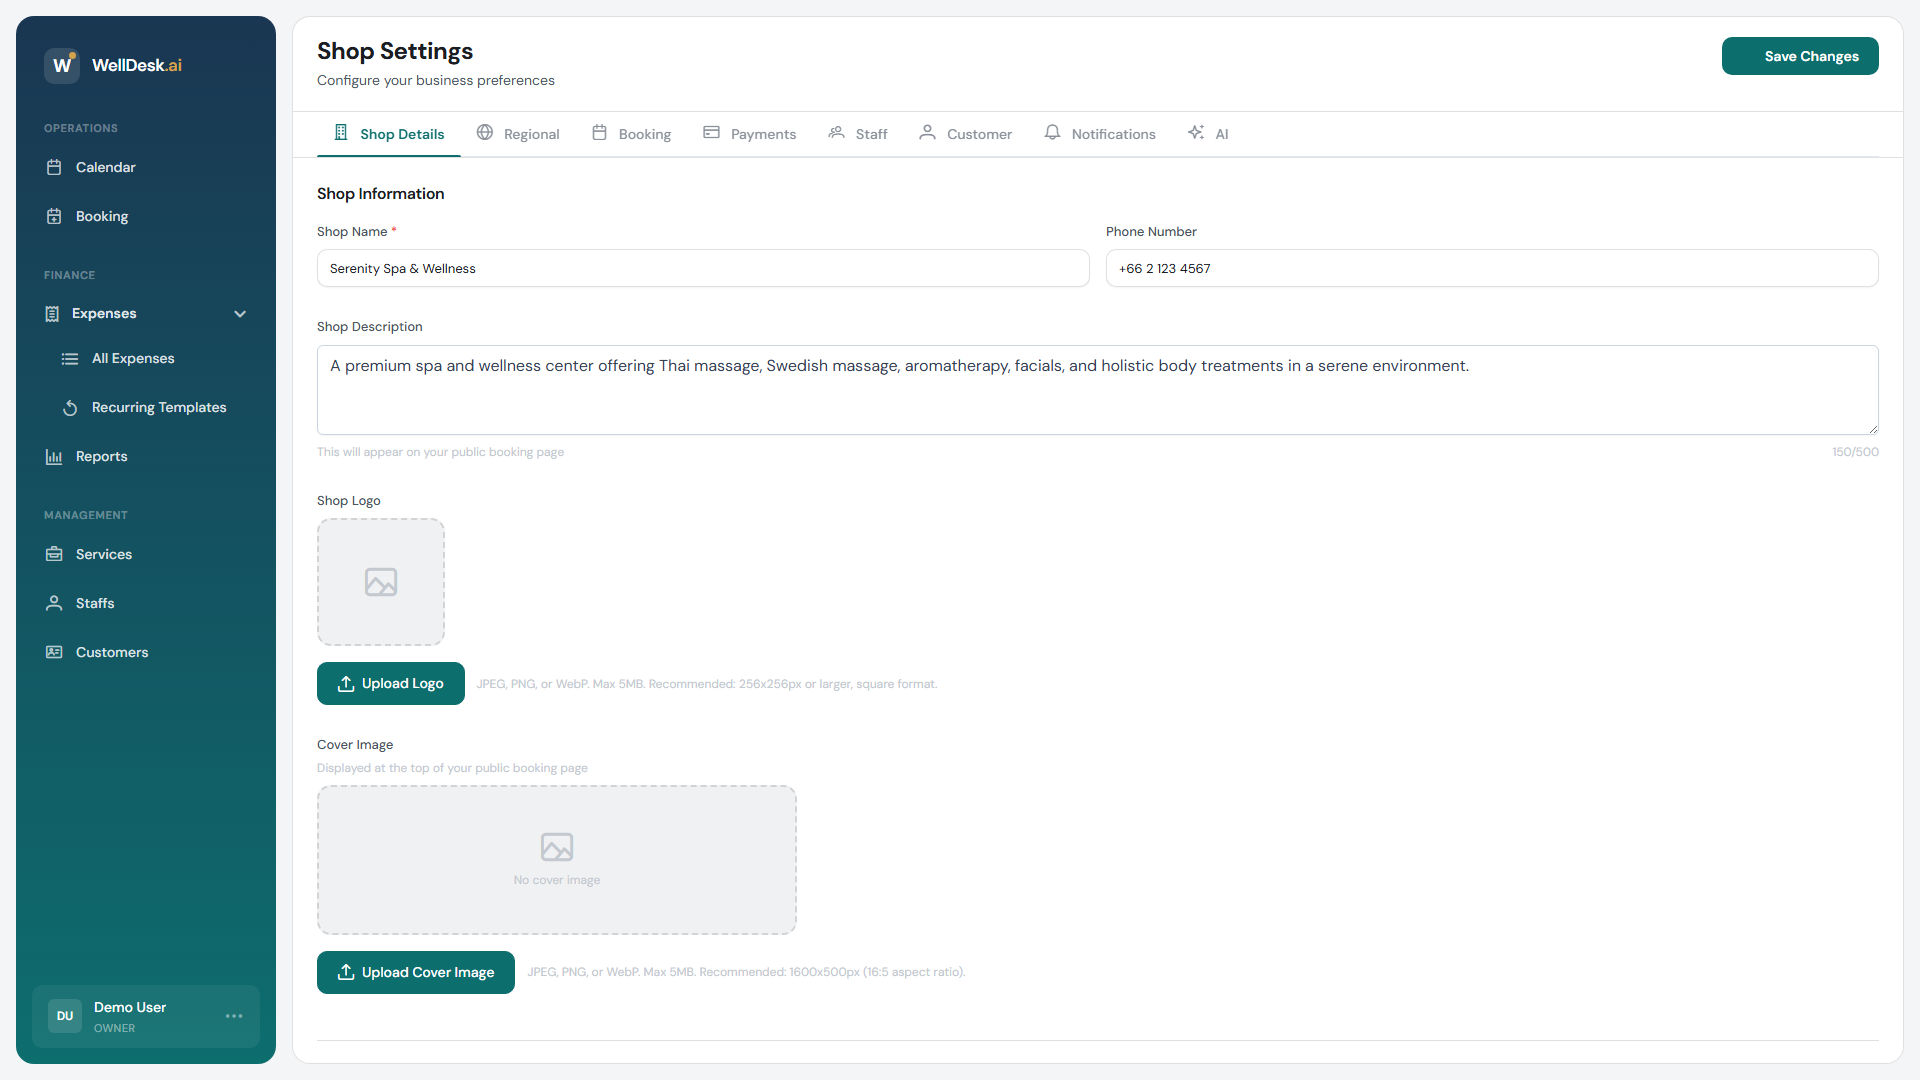
Step 2: Enter your business details
Fill in the following fields:
| Field | Description |
|---|---|
| Shop Name | The name clients see on your booking page and in email notifications |
| Description | A short paragraph about your business (appears on your public booking page) |
| Phone Number | Clients may call this number for enquiries |
| Website | Your main website URL (optional) |
| Address | Your physical address, used on the booking page and in receipts |
| Email Address | Contact email displayed to clients |
Click Save Changes after filling in each section.
Step 3: Upload your logo
- In the Brand section, click Upload Logo.
- Select a PNG or SVG file. JPEGs are accepted but may not look crisp on high-DPI screens.
- Adjust the crop if needed.
- Click Save.
Your logo appears in the header of your public booking page, in client email notifications, and in PDF receipts.
Step 4: Set your business hours
Go to Settings → Business Hours & Timezone.
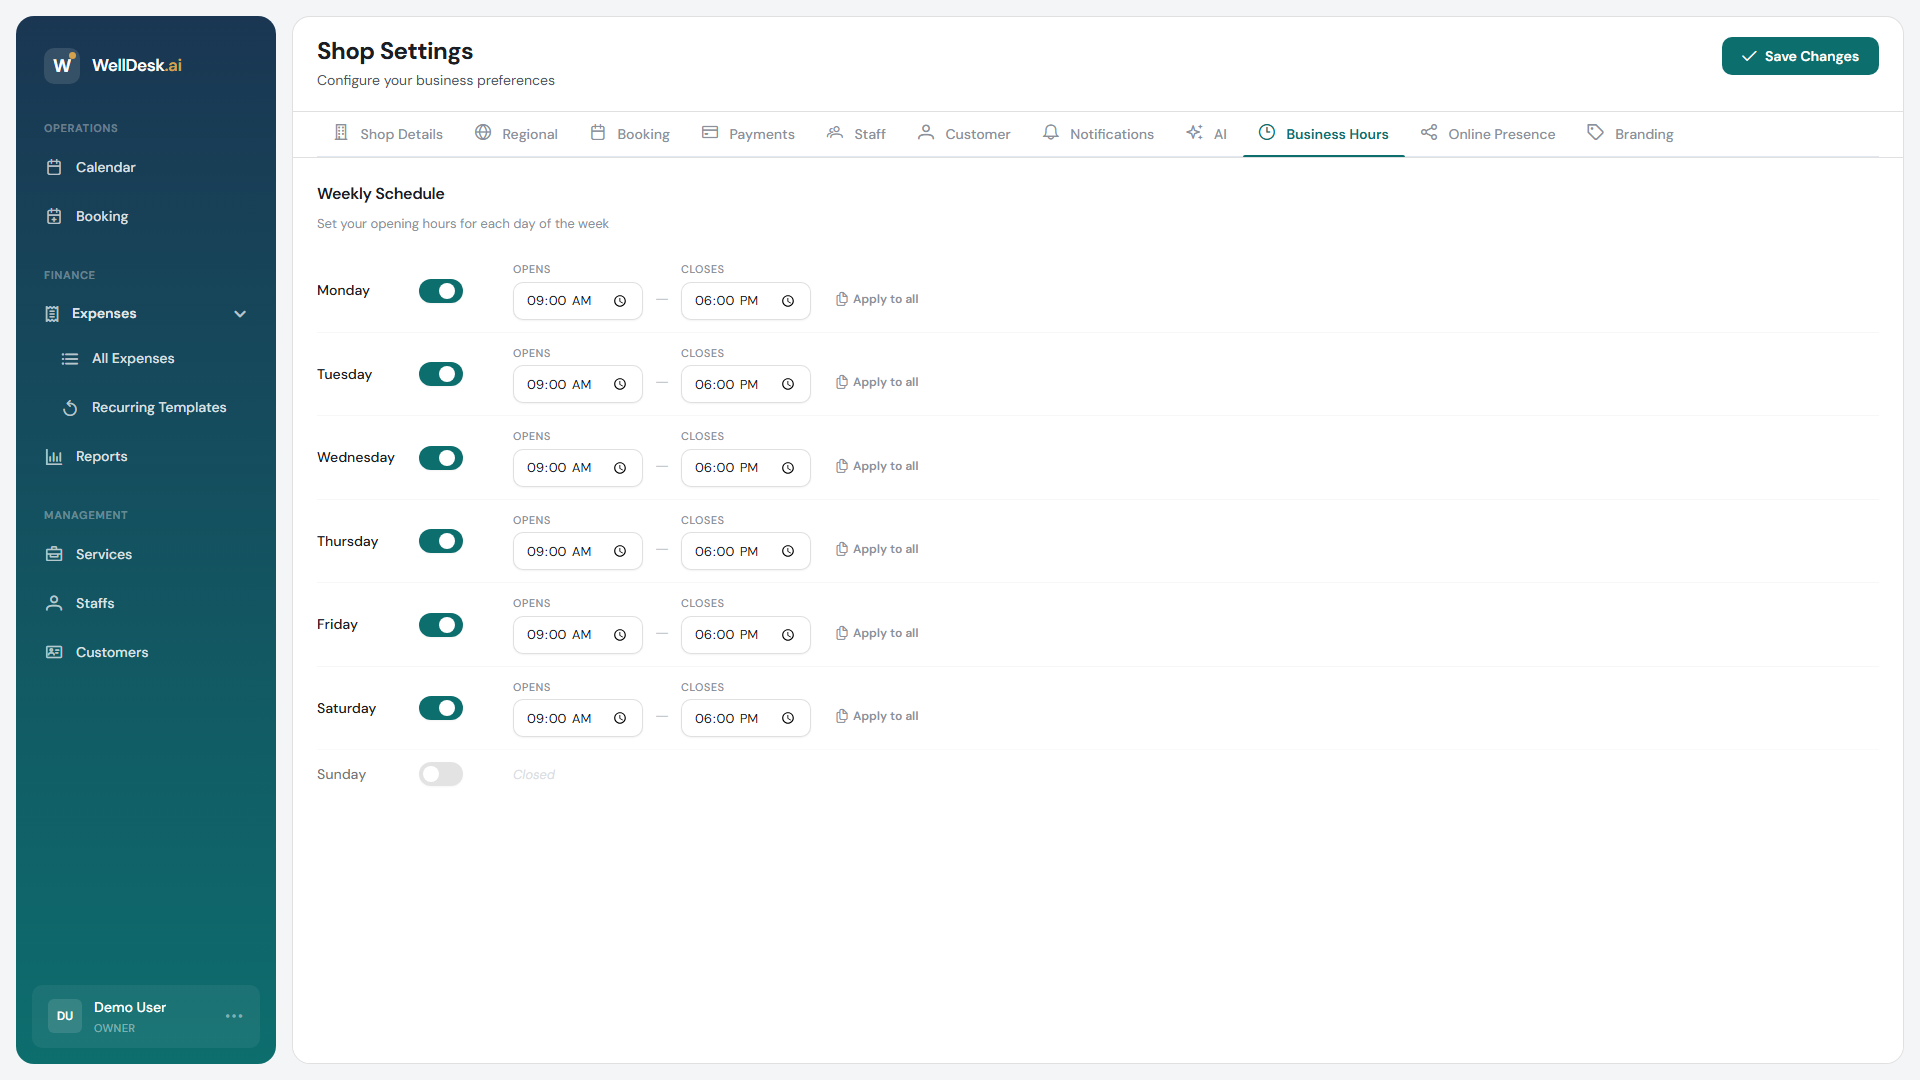
- Toggle each day your business is open.
- Set open and close times for each active day.
- Add break periods (e.g. lunch) using the + Add Break button.
- Staff members can have individual hours configured in Staff → [Staff Member] → Working Hours.
Step 5: Set your timezone
Select your local timezone from the dropdown in Settings → Business Hours & Timezone. WellDesk uses this to display times correctly on your calendar, in notifications, and on the public booking page.
Important: Set the correct timezone before taking any bookings. Changing it later can cause booking time discrepancies.
Step 6: Preview your public booking page
Once your basic details are saved, click View Booking Page (found in Online Booking → Public Link) to see what clients see. Confirm your name, logo, description, and hours are displaying correctly.
Tips and best practices
- Write a compelling description — 2–3 sentences that explain what makes your business unique. This is the first thing clients read on your booking page.
- Keep contact details current — outdated phone numbers and addresses damage client trust.
- Set break times accurately — if you close for lunch, block that time so clients can’t book during it.