Creating a WellDesk account takes less than two minutes. This article walks you through registration, email verification, and what to expect on your first login.
Prerequisites
- A valid business email address
- Your business name and basic contact details
Registration steps
- Go to welldesk.ai and click Start Free Trial in the top navigation.
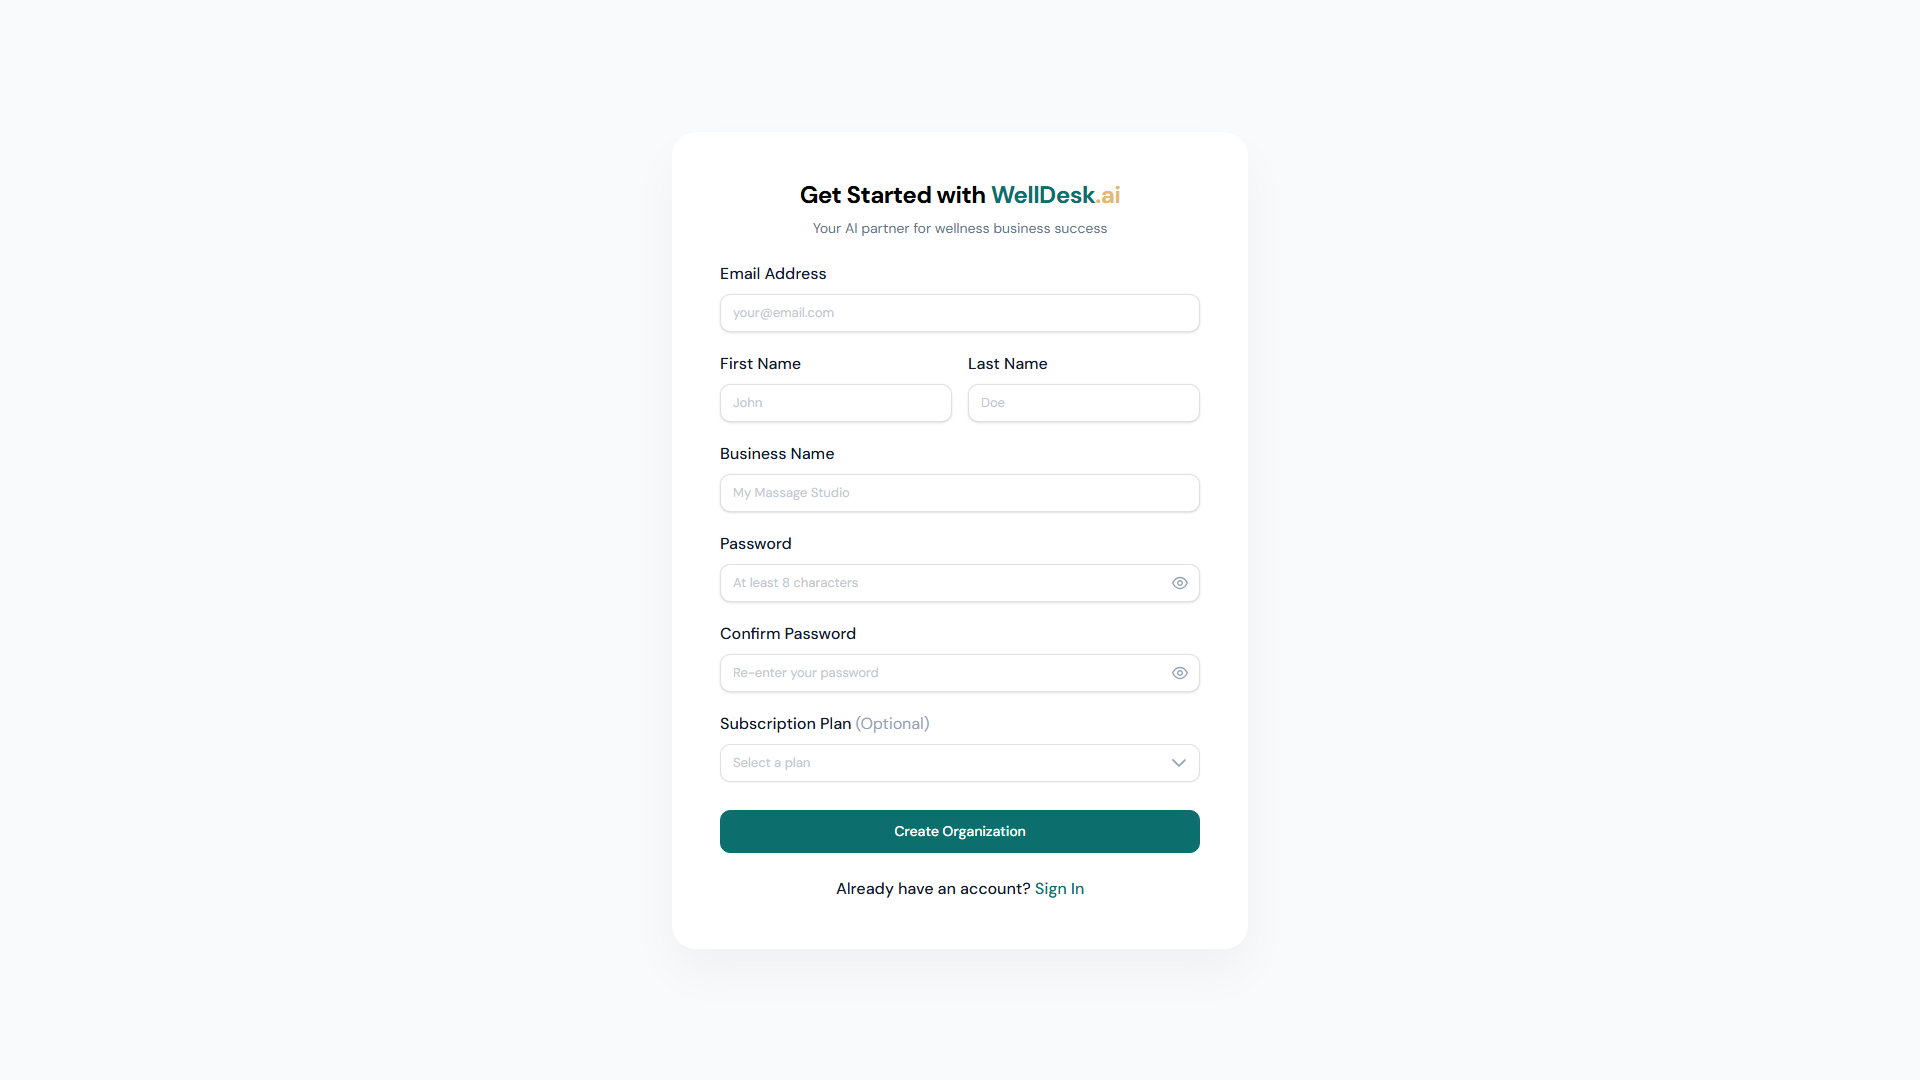
- On the registration page, enter:
- Full name — your name as the account owner
- Business name — the name clients will see on your booking page
- Email address — used for login and business communications
- Password — minimum 8 characters; use a mix of letters, numbers, and symbols
- Accept the Terms of Service and Privacy Policy.
- Click Create Account.
Email verification
After registering, WellDesk sends a verification email to the address you provided. Check your inbox (and your spam folder if you don’t see it within a minute).
- Open the email from no-reply@welldesk.ai with the subject line “Verify your WellDesk account”.
- Click the Verify Email button.
- You’ll be redirected to WellDesk and logged in automatically.
Tip: Verification links expire after 24 hours. If yours has expired, click Resend verification email on the login page.
First login and onboarding
After verifying your email, WellDesk launches the onboarding wizard. This guided flow takes approximately 5–10 minutes and covers:
- Business profile (name, address, phone, website)
- Uploading your logo
- Setting your timezone and business hours
- Adding your first service
You can skip any step and complete it later from Settings, but finishing the wizard means you’re ready to accept bookings immediately.
Tips and best practices
- Use a business email — client notification emails and receipts are sent from your address. A business email looks professional.
- Choose a strong password — store it in a password manager. You won’t be able to view it again after registration.
- Complete the onboarding wizard — accounts with complete profiles appear more trustworthy to clients browsing your booking page.