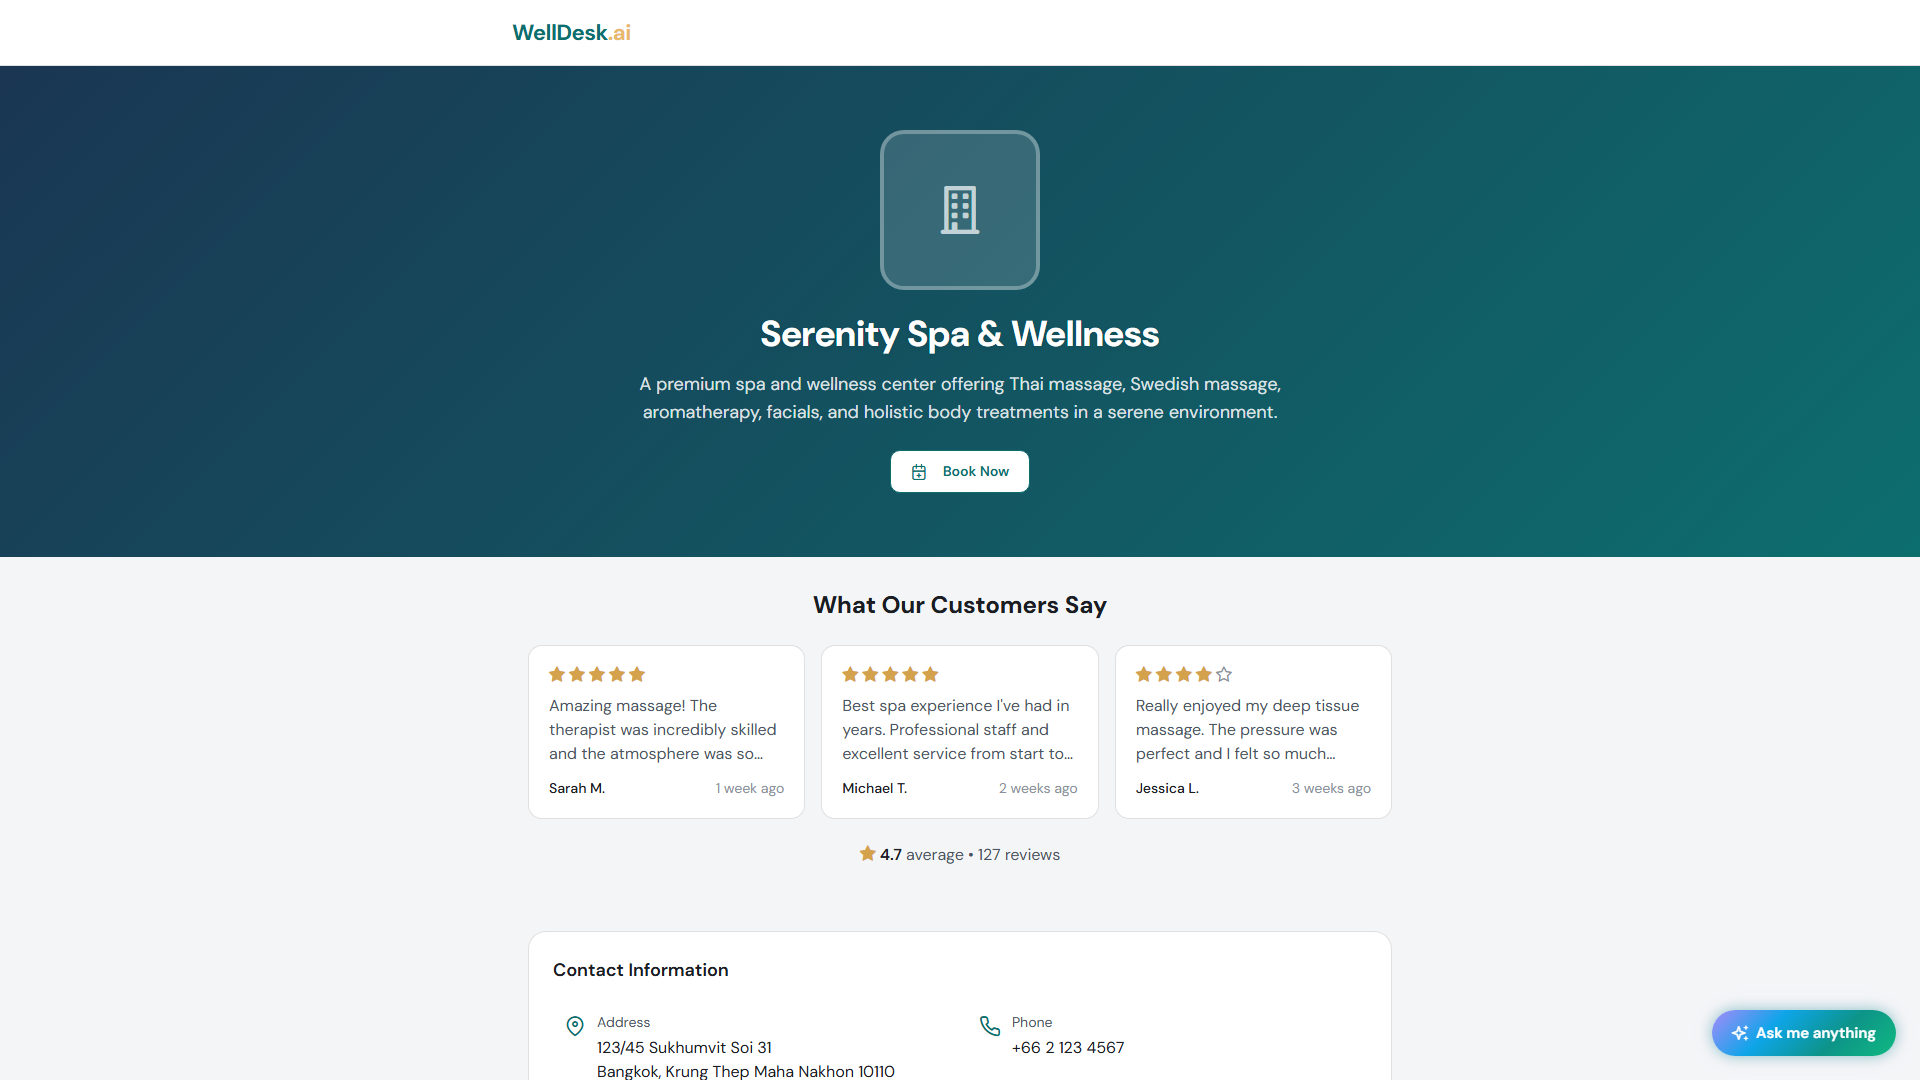
Your public booking page is often a client’s first impression of your business. A well-presented page with your branding, clear service descriptions, and quality photos converts curious visitors into confirmed bookings.
Accessing shop page settings
- Go to Settings → Shop Information or navigate to Online Booking → Customise Page.
- Changes you make here are reflected live on your public booking page.
Logo and branding
Uploading your logo
- In the Brand section, click Upload Logo.
- Select a PNG or SVG file. The recommended size is 400×400 px.
- Your logo appears in the top left corner of your booking page.
Tip: Use a logo with a transparent background (PNG) for the cleanest look. Logos on a white square background often look out of place against coloured backgrounds.
Brand colour
Set a primary colour that’s used for buttons, highlights, and accents on your booking page. Enter the hex code or use the colour picker.
Choose a colour that matches your physical branding — consistent visual identity builds trust.
Business description
The Description field on your Shop Information page appears prominently at the top of your booking page, below your logo. It’s your pitch to new clients.
A good description:
- Explains what you do and who you serve
- Highlights what makes you different
- Is 3–5 sentences long
Example:
Serenity Spa offers luxury wellness treatments in the heart of Dublin’s Docklands. Specialising in hot stone massage, hydrating facials, and holistic therapies, our team of certified therapists delivers personalised care in a tranquil, modern environment. Whether you’re treating yourself or gifting an experience, we’re here to restore your balance.
Service descriptions and photos
Each service displayed on your booking page uses the description and photos you’ve set in Services → [Service Name]. Services without photos appear as plain text — adding photos significantly improves click-through rates.
See Adding a Service for instructions on adding service photos.
Gallery images
Add a gallery of up to 10 images to your shop page to showcase your space, team, and treatments. These appear below your description.
- In Online Booking → Customise Page, scroll to the Gallery section.
- Click + Add Image.
- Upload photos (JPG, PNG, or WebP, max 5 MB each).
- Drag to reorder images.
- Click Save.
Photography tips:
- Use natural light wherever possible.
- Show your treatment rooms, reception area, and product display.
- Include photos of actual treatments (with client consent) — they help new clients visualise the experience.
Contact details on the booking page
Your phone number, email, and address appear at the bottom of your booking page. Keep these up to date in Settings → Shop Information.
Preview your booking page
After making changes, click Preview Booking Page to see how it looks to clients before going live. Check it on both desktop and mobile — most bookings are made on smartphones.
Tips and best practices
- Update seasonal promotions — change your description around key dates (Valentine’s Day, Christmas, Mother’s Day) to reflect current offers.
- Keep service order logical — in Services, drag treatments so your most popular or premium services appear first.
- Ask a friend to test-book — a fresh pair of eyes will catch confusion that you’ve become blind to.